09 14 20
Dying Leather: A Five-Step Process
Been eyeing some of the Fiebings leather supplies on our website? You have good reason! We stock a great range of leather care supplies from brands like Fiebings, Barge, and Smith’s, including leather dyes. In today’s blog post, we’ll be breaking down the leather dying process into five simple steps.
Step One: Clean your Leather
Always start by cleaning your leather. It’s important to remove dirt, oil, and anything else that might affect the way the dye works. By using a deglazer, like this one from Fiebing’s, you’ll not only remove dirt and oil, but previous dyes, too.
Step Two: Moisten
Another important step in prepping your canvas is to add moisture to the leather. By doing this, you’ll encourage the leather to accept the dye more evenly than it otherwise would. Moisten by lightly spraying the leather with water. Do so sparingly—you don’t want to go overboard here!
Step Three: Time to Dye!
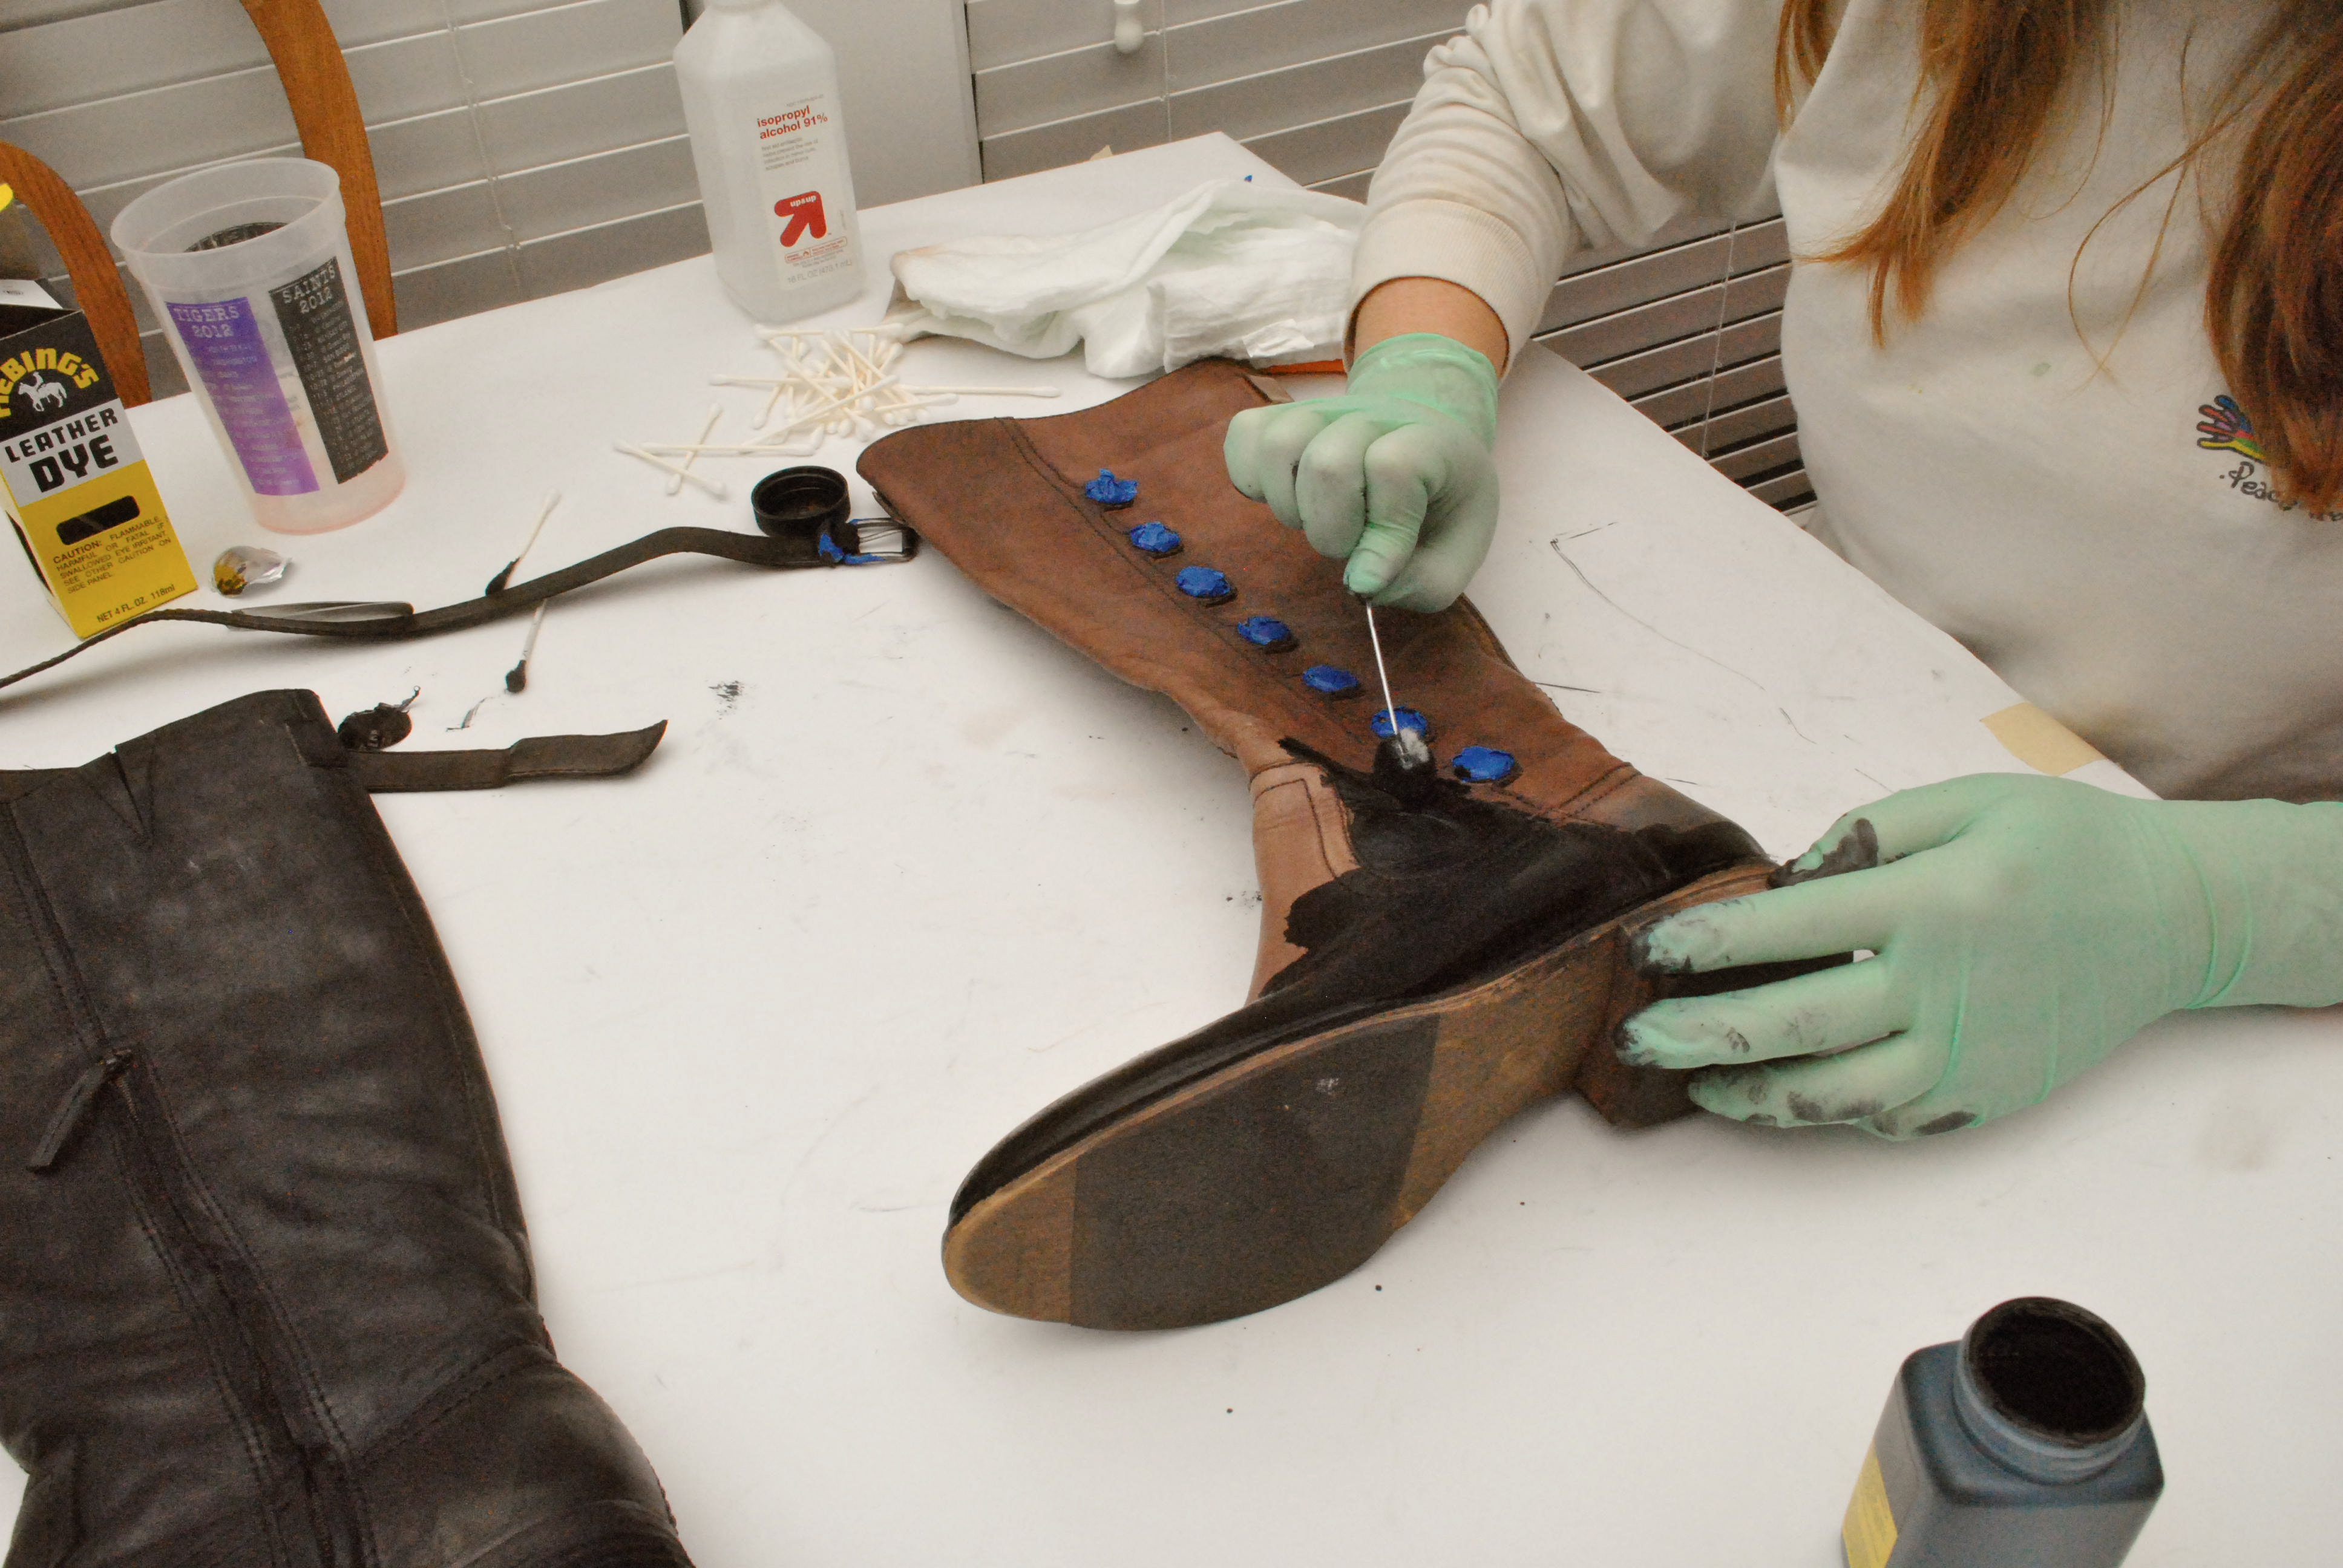
Now you’re ready to move on to dying your leather. In a well-ventilated space, use a wool dauber, apply the dye following the directions on the product. We recommend applying the dye using a circular motion, taking care to work the dye into the pores of the leather.

Step Four: And Time to Dry…
Once you’ve applied your leather dye, it’ll need to sit for a while. The wait time will depend on the product you’ve chosen, so take a look at the instructions again to get an idea of how long you’ll need to wait before the leather’s all set, or before you can get going on your next coat.
Step Five: Seal
Once you’re happy with the way your leather looks and the product is dry, it’s time to finish off the piece by applying a sealant or finishing spray. Again, instructions will vary based on the product you’ve chosen, so take a good look at the packaging and you’ll be good to go!
Now that you know what you’re doing, what are you waiting for? Head on over to Buckleguy.com to check out our leather care offerings, where you’ll find leather dyes, stains, glues, and more.
 Home
Home